Comet C/2013 Catalina UQ4
8th magnitude comet in the Evening sky in Bootes
July 18th, 2014

|
This faint
evening comet is closest to the Earth this week, and is screaming
across the sky over 10 arc minutes per minute of time. Thats
the full size of M13 in Hercules. Capturing this fast mover typifies
the difficult imaging challenges that serious comet imagers face,
and most of the time conquer on a routine basis.
Here, I am illustrating
several different combine methods for this unique asteroid -
turned - comet, each method shows a different aspect of the field
and the comets details. A total of 64 frames were taken in sequence
of only 30 seconds exposure time with our 12.5". Any longer,
the comets fast motion trailed the nucleus on the sub frames.
To keep the comet relatively stationary in the final images,
you must select an exposure to keep the trailing down to a tolerable
level, in the 30 arc seconds or less area to be sure.
Arizona's summer
monsoon has been very cloudy and rainy for the month of July
so far this year, and only a few hours of clear skies opened
up for us to take these frames. By morning, the clouds were back
and it was raining again!
|
Click all frames below for the larger view:
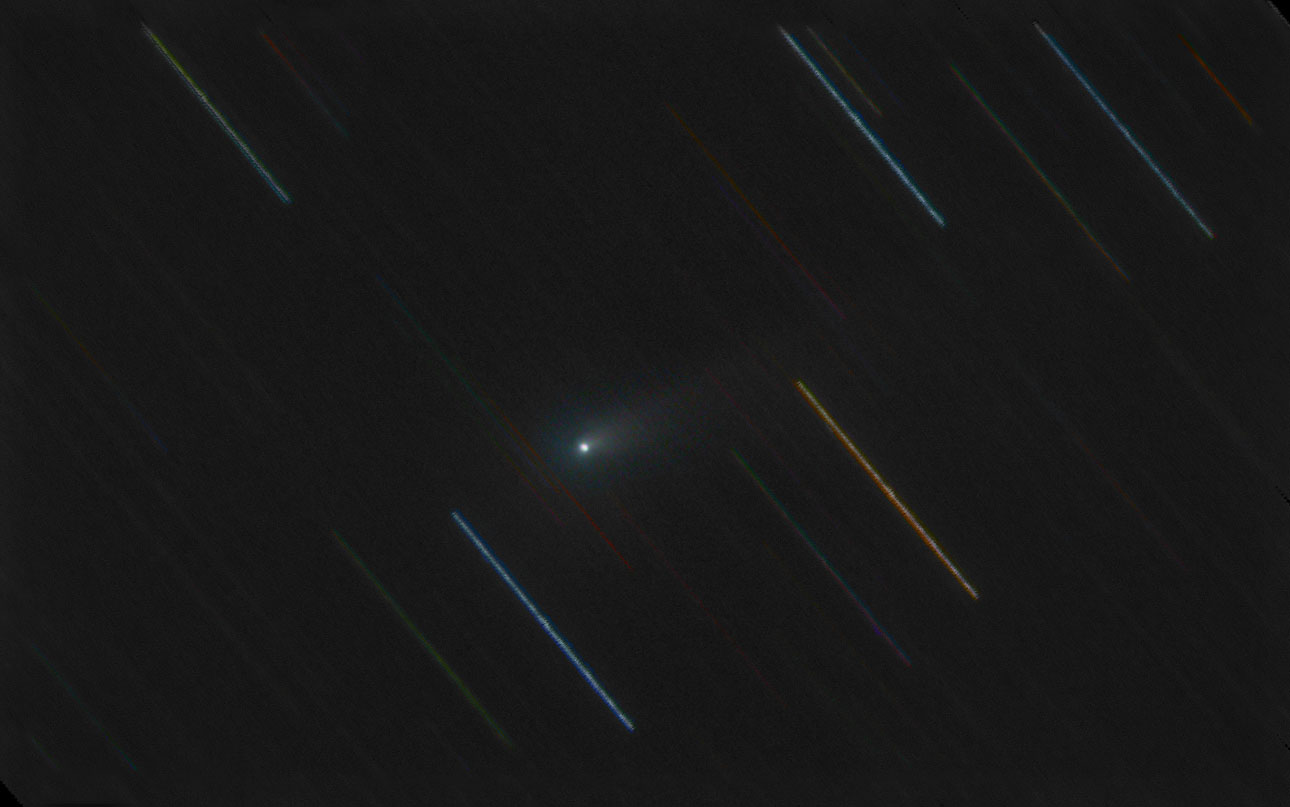
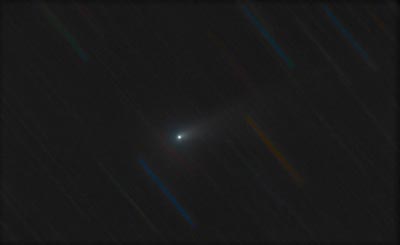
| For
this first image, the 64 sub frames were summed with the comets
nucleus in register for all the frames. The result a sharp comet
in a trailed star field. A close up of the stars shows that the
tiny 8 second gap that the separate images take to download to
the hard drive leaves a small blank gap in between shots. This
gives the stars a bead like appearance at high magnification.
Also, the star trails are so intense that much of the tail is
lost in the long bright star streaks. The comets head has a greenish
leading edge from the ionized gas in the coma. Stars are of course
colored by the spectral class they exhibit. To color the stars
in this image, I used an interesting technique. Normally, you
only have half a dozen individual sub frames on slow moving comets
to color the star trails, and you can simply replicate six layers
of the RGB data over the L channel and combine with "Color"
in Photoshop. But in this case, there are 64 separate images!
My poor computer would lie down and die if I tried to lay over
64 RGB frames over this set of trails. So I used a new technique.
I overlaid ONE frame of the RGB stars color data over the L data
with the trails. Then used Photoshops "Motion Blur"
tool to stretch out at the appropriate angle the colored star
image to the exact length of the black and white star trail underneath.
Combining this using again "Color" did the trick. |
 |
Select an image size for a larger view:

All L channel frames Summed
in Maxim DL

1290 x 960
|
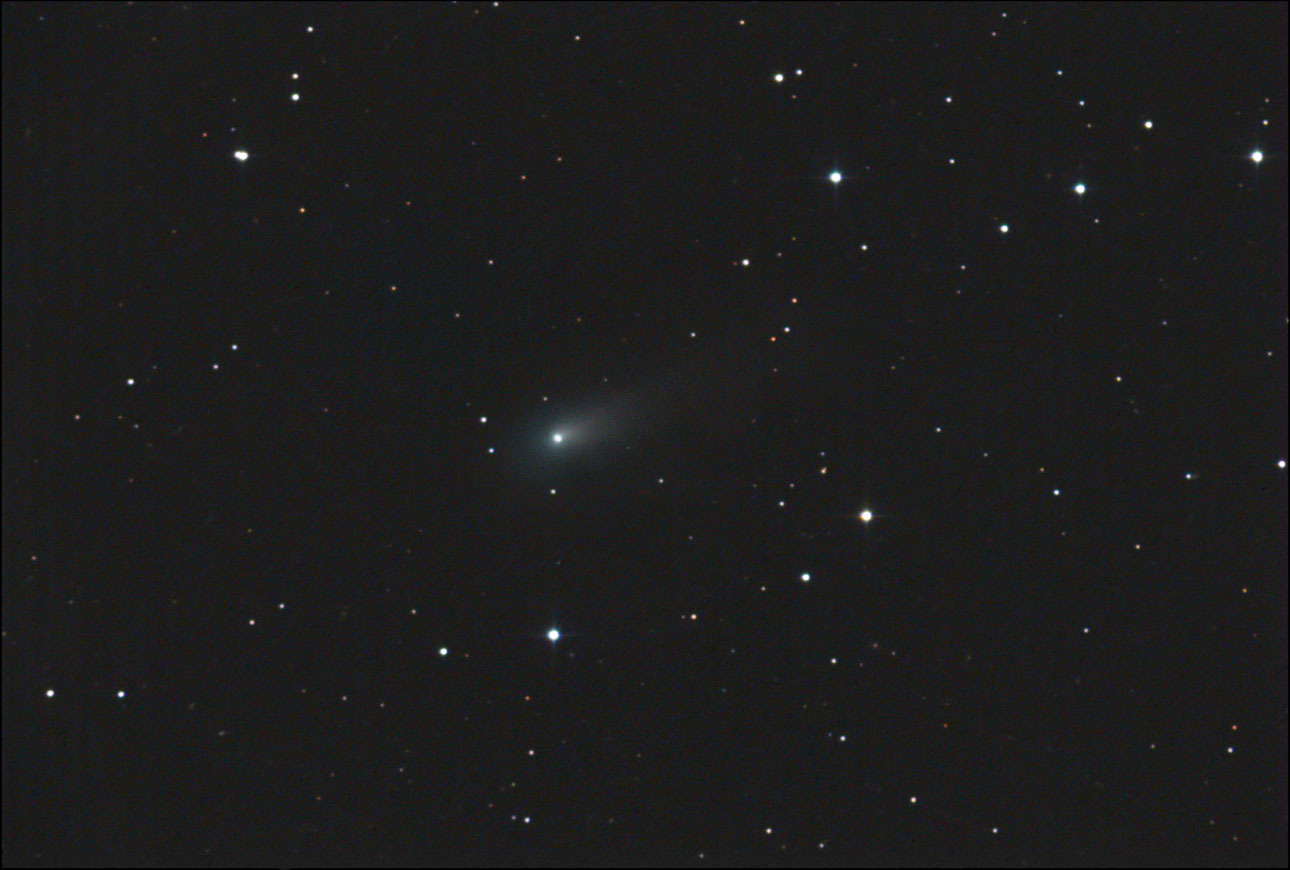
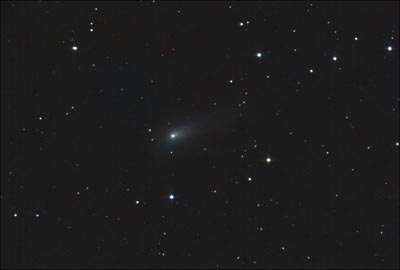
| Using
the new software Nebulosity 3.2 by Stark Labs, I combined the
L channel data with a sigma clip stacking method, and was pleased
to see that the formerly overbearing star trails had been subdued
greatly, and the comets nice twin ray tail structure could now
be more plainly seen. To improve the effect, I processed the
odd and even files separately to leave a bigger gap between stars
on each stack, then averaged the two later. Star colors are true
and done the same way as described above. |
 |
Select an image size for a larger view:

All L channel frames Sigma = 2 clipped
in Nebulosity v3

1290 x 960
|
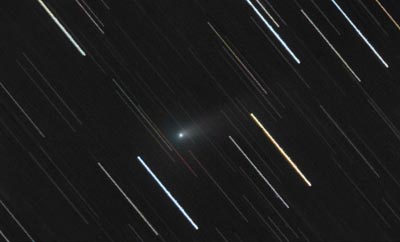
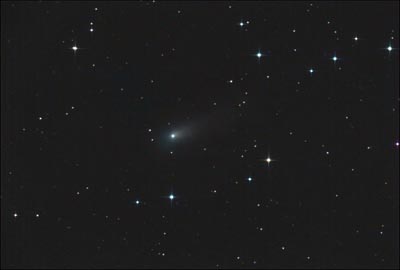
| Combining
using only Median combine in Maxim yields a strong attenuation
of the star trails. The blurry appearance is an effect of the
median combine method, and while this image again shows good
tail details, it is not something you would probably send to
a magazine for publication! You can use this median combined
image however to do one more thing... |
 |
Select an image size for a larger view:

All L channel frames combined with
Median in Maxim DL

1290 x 960
|
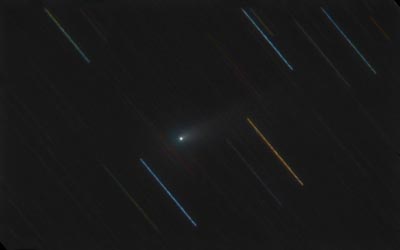
|
This image
shows stationary stars, and comet. To achieve this composite
accurately and stay within the bounds of imagers morality, you
have to take a few extra steps. First you create an LRGB of the
star background, using Sigma 2 for the combine to eliminate the
comets trail. Next, you select your middle frame in your sequence
and adjust to be able to see the stars and comet clearly in this
short sub. Finally, you will use the median combined comet image
from the above image.
You create three
layers in Photoshop. The base is the middle frame in your set
that you will stack everything onto. Layer on top the stars data,
and register to the base layer. The top layer is the median combined
image of the comets head. Register it to the base layer. Now
delete the base layer, it will no longer be needed.
By combining the
stationary comet on the top layer using "Lighten" in
Photoshop, you can allow the comet to be very accurately be placed
in the proper location in the field, during the time of your
middle shot. You may have to adjust the brightness of the comet
to suit. Flatten and add color data. Here is what you get. Magazines
will love you:
|
 |
Select an image size for a larger view:

All Star L channel frames combined with
Sigma Clip = 1.75

All Comet L channel frames combined with
Median in Maxim DL

1290 x 960
|
| Finally,
by enhancing the already existing diffraction spikes with "Star
Spikes Pro" software, you can meet your public enrichment
obligations in numerous publication venues: |
 |
Select an image size for a larger view:

All Star L channel frames combined with
Sigma Clip = 1.75

All Comet L channel frames combined with
Median in Maxim DL

1290 x 960
|
Lens: 12.5" f/5 Home bult Newtonian
Platform: Astrophysics AP1200
Exposure: 35m LRGB with 30sec subs
Location: Payson, Arizona
Elevation: 5150 ft.
Sky: Seeing 4/10, Transparency 6/10
Outside Temperature: 65F
Processing Tools: Nebulosity, Maxim DL, Photoshop CS2
HOME GALAXIES EMISSION NEBS REFLECTION NEBS COMETS
GLOBULARS OPEN CLUST PLANETARIES LINKS
|