 Vacbot
1
Updated 9/24/05

| After letting the Vacbot
run about the house, there was one problem area we noticed in
the kitchen that required us to redesign the front bumper again,
with a new concept that we hope will pan out to be used in our
future robots. The problem occurred with the over hang that the
kitchen cabinets have near the floor level between the baseboard
and start of the bottom of the cabinet. It would hit part of
the hinge mechanism and stall the bot. This new design does not
have this flaw and we can hit anywhere on it with a light touch
and initiate an escape response. Also, if needed, this design
will allow any number of extensions to be added right to the
bumper for additional projection protection. |
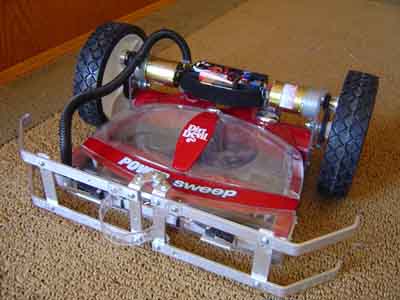 | Overall
view of new front bumper design without cover plates to show
details. Construction is .090 aluminum bar stock, and a lexan
bump piece. A functional description is in image 3. |
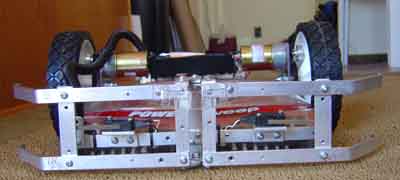 | Frontal
view showing that only one contact switch per side is needed
for coverage of the entire front half side including the wheels. |
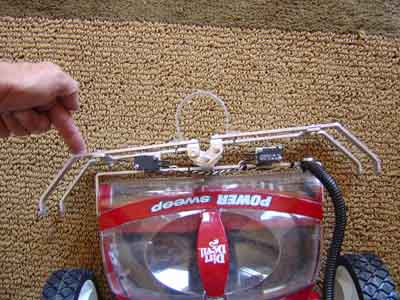 | The
center is not a solid piece, and consists of a Y shaped pivot
with two arms connected each to a bumper. The bumper halves can
move independently both hinged on the center pivot. Here I am
pushing one side showing switch closure, the lexan loop allows
independent motion, yet when one side is hit, the entire bumper
acts as one piece. |
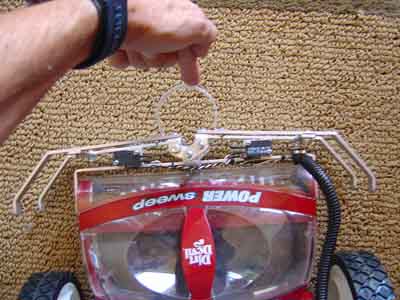 | Pressing
on the center lexan loop pushes both bumpers inward thus eliminating
any blind zone in the center. The lexan also acts as a spring
to pull them open, and limit the amount of forward motion they
can make. |
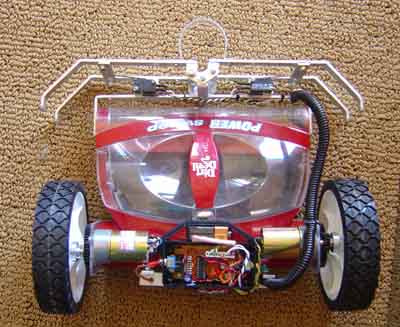 | At
rest, both bumpers are parallel and ready for the slightest impact.
|
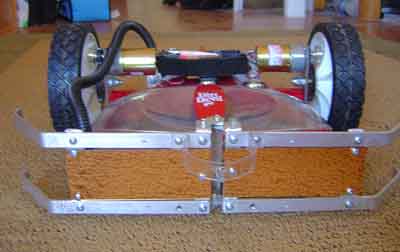 | With
the polished brass cover plates on, the switches are protected,
and frontal coverage is uniform. |
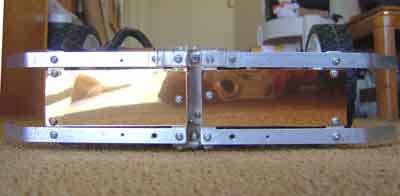 | Straight
on view (see camera reflection) |
 HOME
HOME
You are visitor
number since June 17, 2001

FastCounter
by bCentral


HOME