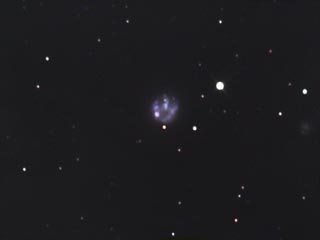
This technique has been applied successful to CCD images to remove light pollution gradients that can appear in the CCD frame. Here is a step by step procedure to greatly reduce the effects of this problem. I used Adobe Photoshop 6 for this correction, however any version will work.
1. Lets start with our image of a galaxy in Lynx, with severe light pollution causing a brightening of the right hand side of the frame.
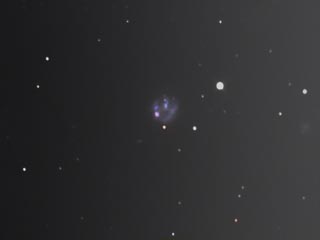
2. Using the layers pallet, create a new layer, and select multiply for the method of combine. Select the new layer in the layers pallet, and using the gradient tool, draw a black and white linear gradient opposite in polarity to the image to repair.

3. Here is what you'll see, when you look at the main image layer.
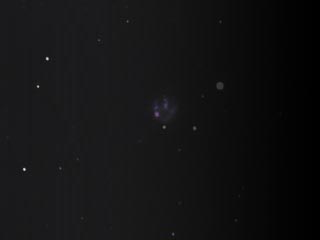
4. Next, adjust the transparency of the new gradient layer such that the gradients just cancel, or as best as you can. you can also try changing the combining method to either screen, difference or add, but you may find multiply is best.
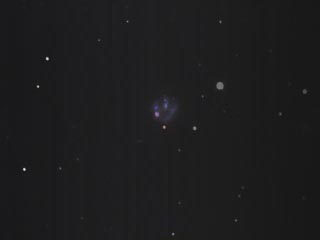
5. Flatten the image once your satisfied, and readjust contrast and brightness to suit.
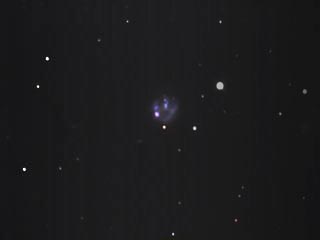
6. Adjust levels, saturation to obtain best image (below)
